How To Organise An Under Stairs Cupboard With Removable Storage
A practical step-by-step guide to how to organise an under stairs cupboard with removable storage, including preparation, instructions, common issues, tips, and next steps.

How To Organise An Under Stairs Cupboard With Removable Storage
This practical guide shows you how to transform the awkward triangular space under your stairs into a tidy, accessible storage area using removable storage. You will plan zones, measure carefully, choose containers you can lift out easily, and install simple supports without damaging the structure. The result is a cupboard that stays organised, adapts to changing needs, and keeps everyday items visible and within reach.
Fast Answer
- Start by emptying the cupboard, measuring its full height, width, and depth at floor level and at the lowest point, then sketch a simple plan with zones for daily, seasonal, and occasional items.
- Use removable storage such as stackable boxes, wheeled crates, hanging organisers, and tension rods so you can reconfigure the space without tools or permanent fixings.
Before You Start
- Clear the cupboard completely and sort every item into keep, relocate, donate, or discard piles so you only store what you actually need in this space.
- Measure the height, width, and depth at the front, middle, and back of the cupboard, noting the lowest point under the slope where headroom shrinks.
- Gather removable storage options like stackable boxes, clear lidded bins, wheeled crates, fabric drawers, and adjustable tension rods that suit your measurements.
- Check for cables, pipes, meters, or vents inside the cupboard and make sure your storage plan keeps them accessible and does not block airflow.
Step-by-Step Instructions
Empty and assess the space
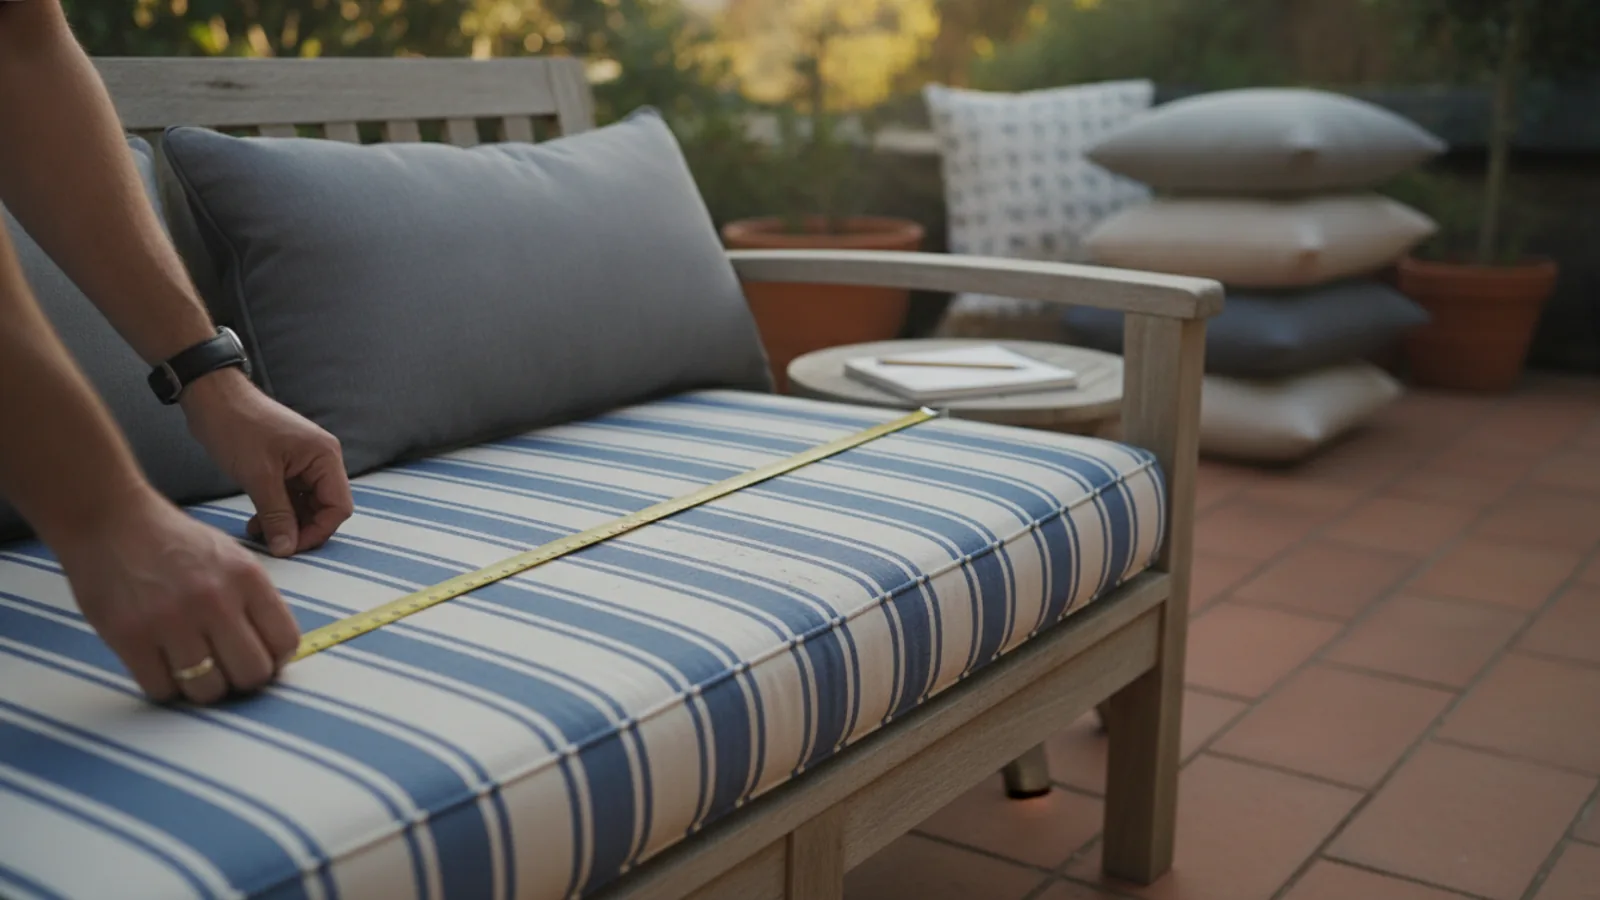
Begin by removing everything from the cupboard and placing it on a sheet or in a nearby clear area. As you empty the space, group items loosely by type, such as cleaning supplies, tools, seasonal decorations, or everyday shoes. Once empty, look at the full shape of the cupboard, including the sloping ceiling and any awkward corners. Measure the height at the front, middle, and back, because the usable height changes dramatically under the stairs. Also measure the width and depth at floor level and at waist height. Write these measurements on a simple sketch so you can refer to them while choosing storage. This assessment step matters because guessing measurements leads to boxes that do not fit, wasted space, and frustration. A few minutes with a tape measure now prevents multiple return trips and failed arrangements later.
Plan zones for daily and occasional items
Divide the cupboard into zones based on how often you need each category. The most accessible area, usually near the door and at waist height, should hold daily or weekly items such as shoes, coats, cleaning sprays, or pet supplies. Higher or deeper areas suit occasional items like seasonal decorations, spare bedding, or holiday gear. The lowest and most awkward corners can hold long-term storage such as archived paperwork or tools you rarely use. Sketch these zones on paper or use removable tape on the floor to mark boundaries. Think about the path your hand takes when you open the door: whatever you reach for most should be closest to that natural sweep. This planning step is important because a cupboard organised by frequency stays tidy far longer than one organised by category alone. You will also spot which zones need removable containers and which can use simple stackable boxes.
Choose removable storage that fits your measurements
With your zones and measurements ready, select storage containers that match the height, width, and depth you recorded. Removable options include clear lidded boxes, stackable open crates, fabric drawers with handles, wheeled under-bed style crates, and hanging organisers that attach with hooks or tension rods. Avoid built-in shelving or permanent fixings unless you are confident about what lies behind the walls. For each zone, choose containers that can be lifted out easily with one hand or with a simple pull. Check that the container plus its contents will not exceed the weight you can comfortably move, because heavy boxes stored overhead become a hazard. Measure the internal dimensions of your chosen boxes, not just the external ones, so you know what will actually fit inside. This selection step matters because containers that are slightly too large or too tall will jam, scratch, or block the door. A careful match keeps everything sliding smoothly.
Install simple removable supports
Now create structure without permanent damage. Start with freestanding options such as a small wheeled cart, a stack of sturdy crates, or a lightweight shelving unit that simply stands on the floor. If you need to use the height, consider tension rods between two walls for hanging lightweight items, or over-door organisers that hook onto the existing door. Adhesive hooks can hold light items if you follow the manufacturer's instructions and test them with a small load first. For heavier items, place them at floor level rather than on temporary supports. Always check that any tension rod or adhesive product is rated for the weight you plan to store, and follow the fitting instructions exactly. This installation step is important because removable supports can fail if they are overloaded or fitted to a dusty or uneven surface. Test each support with a gentle pull before adding contents, and stop immediately if anything feels loose.
Load the cupboard from the back and bottom
Begin loading by placing the heaviest and least-used items at the back and bottom of the cupboard, where they are hardest to reach but also safest to store. Slide wheeled crates or large boxes into position first, then build upward and forward with lighter, more frequently used items. Keep the daily zone closest to the door and at waist height so you can grab what you need without bending or stretching. As you load each container, check that it does not block the door swing, obscure any meter or valve, or press against cables or pipes. Leave a small gap between the top of the highest container and the sloping ceiling so you can lift it out without scraping. This loading order matters because it prevents back strain and keeps emergency access clear. It also means you will not have to unload everything again just to reach one heavy item that was placed in the wrong spot.
Label, test, and maintain the system
Once everything is in place, label each container clearly on the front and top so you can identify contents from above or at a glance. Use removable labels or write directly on clear boxes with a wipe-off marker. Test the system by opening the door, reaching for a daily item, and pulling out a box from the middle of the stack. If anything sticks, jams, or feels unstable, adjust the arrangement before you close the door for the last time. Take a moment to confirm that meters, valves, and vents remain accessible and that nothing is pressing on cables. Finally, set a simple maintenance routine, such as a quick tidy every few months or when the seasons change. This testing and maintenance step matters because even a good storage plan drifts over time. A brief review keeps the cupboard usable and prevents the slow return of clutter.
Quick Reference
| Situation | Action | Why it helps |
|---|---|---|
| The cupboard door will not close because boxes stick out too far. | Measure the depth from the back wall to the inside of the closed door, then replace any container that exceeds that depth with a shallower box or a soft fabric drawer that can compress slightly. | Door clearance is the most common failure point in under stairs cupboards, and checking the true internal depth prevents damage to both the door and your stored items. |
| You cannot reach items stored at the back of a deep, low cupboard. | Move frequently used items into wheeled crates or boxes with handles that you can pull forward, and reserve the deepest corners for seasonal or archived items that you only need once or twice a year. | Matching storage type to access frequency reduces bending, prevents items from being lost at the back, and keeps the space working for you rather than against you. |
| You need to store heavier items but do not want permanent shelves. | Place heavy items directly on the floor at the back of the cupboard, inside sturdy stackable crates or a low wheeled cart that you can pull out when needed, and keep temporary supports for lightweight goods only. | Floor-level storage carries weight safely without relying on tension rods or adhesive hooks, which are not designed for heavy loads and may fail without warning. |
Common Issues
- Items fall over or slide around when you open the door.: Group loose items into containers with lids or dividers rather than stacking them directly, and place non-slip matting under boxes that sit on smooth flooring. Check that each container is filled enough to be stable but not so heavy that you struggle to lift it, and rearrange the stack so taller boxes sit against a wall or side panel for support.
- The space feels dark and you cannot see what is inside.: Use clear containers instead of opaque ones for the most frequently used zones, and add a removable battery-powered light that sticks to the ceiling or wall with a temporary adhesive. If you prefer not to use adhesive, keep a small torch in a dedicated spot near the door. Regular labelling also helps you identify contents without relying on light alone.
- You keep losing small items at the bottom of large boxes.: Add removable dividers or small open trays inside larger containers to separate small items by type. You can make simple dividers from sturdy cardboard cut to size, or use small fabric baskets that sit inside a bigger box. Keep like with like, and label each section so you can find a single item without emptying the entire container onto the floor.
Advanced Tips
- Use the vertical space on the back of the door with a removable over-door organiser for lightweight items like cleaning cloths, shoe care kits, or pet leads, but check the door closes fully and the hooks do not damage the frame.
- Create a seasonal rotation box for items you only use part of the year, store it in the deepest or highest zone, and swap it with the current season's box during your regular maintenance check.
- Keep a small inventory list on the inside of the cupboard door using removable tape and a wipe-off marker, so you can see at a glance what is stored where without opening every container.
Final Checklist
- All containers fit within the measured height, width, and depth, and the cupboard door closes fully without pressure on any box.
- Meters, valves, vents, and cables remain clear and accessible, with no stored items pressing against them or blocking airflow.
- Heavy items sit on the floor or on sturdy freestanding supports, while temporary rods and hooks hold only lightweight goods within their stated limits.
- Every container is labelled and you have tested reaching for daily items and pulling out a middle box without jamming or strain.
FAQ
How do I organise an under stairs cupboard without drilling into the walls?
Use freestanding and removable storage instead of permanent fixings. Start with floor-standing crates, wheeled carts, or a lightweight shelving unit that simply stands in place. For vertical space, use tension rods between two solid surfaces for lightweight items, or over-door organisers that hook onto the existing door. Adhesive hooks can work for very light items if you clean the surface first and follow the manufacturer's instructions. Always check that any temporary support is rated for the weight you plan to store, and test it with a gentle pull before adding contents. If you are unsure about what lies behind the walls, avoid drilling altogether and rely on removable solutions.
What is the best way to store heavy items in a triangular cupboard?
Place heavy items directly on the floor at the back or side of the cupboard, where the structure is strongest and the weight is safely supported. Use sturdy stackable crates or a low wheeled cart so you can pull the load forward without lifting it. Avoid placing heavy items on tension rods, adhesive hooks, or lightweight shelving, because these removable supports are not designed for significant weight and may fail. If you must store something heavy at waist height, choose a freestanding unit that stands on the floor and has a low centre of gravity. Always test the support with a gentle push before trusting it with a heavy load, and keep the heaviest items as close to floor level as possible.
How often should I review and reorganise the cupboard?
Aim for a quick review every few months and a fuller reorganise when the seasons change or when you notice items becoming hard to find. During a quick review, check that nothing is blocking meters or vents, that containers are still stable, and that daily items are within easy reach. A seasonal review is a good time to rotate occasional items, such as decorations or spare bedding, and to remove anything you no longer need. If you find yourself repeatedly moving the same box to reach something else, that is a sign the arrangement needs adjusting. Regular small reviews prevent clutter from building up and keep the cupboard working well for your daily routine.