How To Create A Room Measurement Plan Before Moving House
A practical step-by-step guide to how to create a room measurement plan before moving house, including preparation, instructions, common issues, tips, and next steps.

How To Create A Room Measurement Plan Before Moving House
A room measurement plan turns moving-day chaos into a calm, organised process. By recording every room's dimensions, doorways, and fixed features before you pack, you can label boxes by destination, arrange furniture sensibly, and avoid the stress of discovering that a sofa will not fit through a hallway.
Fast Answer
- Create a simple floor plan for each room, measure walls, doorways, and windows, and note features that affect furniture placement.
- Use a consistent method: sketch the room, measure in a logical order, write measurements on the sketch, and double-check the totals.
Before You Start
- Gather a tape measure long enough for your largest room, a notebook or clipboard, a pencil, and a second person to help hold the tape steady.
- Print or draw a simple outline of each room so you have a place to write measurements as you go instead of trying to remember them later.
- Walk through each room first and note fixed items such as radiators, built-in cupboards, sloped ceilings, and awkward corners that will affect placement.
- Set aside a quiet half-hour per room, because rushing measurements leads to errors that cause problems on moving day when furniture will not fit.
Step-by-Step Instructions
Sketch each room on paper
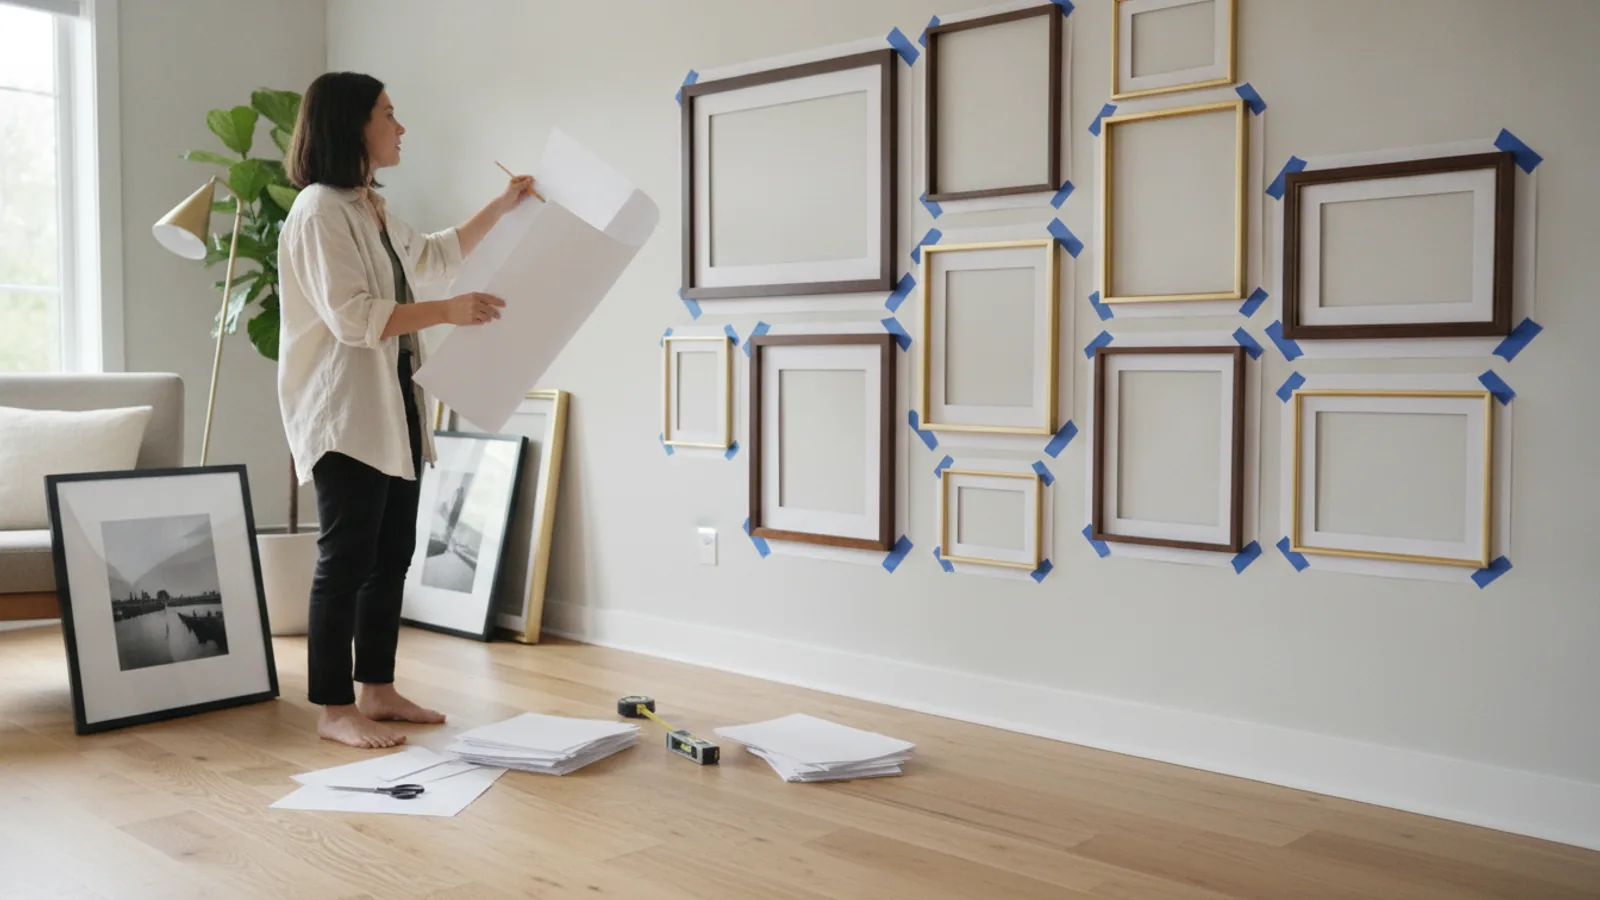
Start by drawing a simple outline of the room on a sheet of paper. Do not worry about scale yet; just create a rough shape that shows walls, corners, and openings. Mark where the door swings and where windows sit. This sketch becomes your map for all the numbers you are about to collect. A clear sketch helps you avoid missing a wall or measuring the same one twice. It also gives you a place to write notes about fixed features such as radiators or built-in shelves. When you finish, check that every wall is represented and that door and window positions make sense. This check matters because a missing wall or opening will make your final plan unreliable when you try to place furniture later.
Measure wall lengths in order
Measure each wall from corner to corner at floor level, then write the number on the matching line of your sketch. Work around the room in one direction, such as clockwise, so you do not lose track of which wall you have measured. If a wall has a doorway or a large window, measure the full wall length first, then measure the width of the opening separately. Record both numbers clearly. Ask a helper to hold the tape end while you read the measurement. After finishing, add up the wall lengths and compare the total to the room's overall shape. This check matters because a total that does not match the sketch usually means one wall was measured incorrectly or missed entirely.
Record door and window openings
For every door, measure the width of the frame opening and the height from floor to top of the frame. Also note which way the door swings and whether it opens into or out of the room. For windows, measure the width and height of the glass area and the distance from the floor to the bottom of the window. Write these numbers next to the symbols on your sketch. These details matter because furniture must pass through doorways, and tall items may block windows or radiators. After recording, stand back and check that each opening is labelled with both width and height. This check is important because a doorway that is wide enough but too low can still stop a tall wardrobe from entering the room.
Note fixed features and obstructions
Walk around the room and list every fixed feature: radiators, pipes, built-in cupboards, fireplaces, sloped ceilings, and electrical outlets. For each one, measure its distance from the nearest corner and its height or depth. Mark these on your sketch with a short label. This step prevents you from planning to put a sofa in front of a radiator or a bookshelf over a low window sill. After listing, read through your notes and picture each item in the room. This check matters because fixed features reduce the usable wall space and can turn an apparently large room into a tricky layout. Update your sketch until every feature you can see is recorded with at least one measurement.
Convert measurements into a simple plan
Using your sketch and numbers, draw a clean floor plan for each room on a fresh sheet of paper. Choose a simple scale, such as one square on graph paper equals a set number of centimetres or inches, and draw walls, doors, windows, and fixed features to that scale. Add the measurements as labels so you can check sizes without re-measuring. This plan becomes your reference when deciding what furniture goes where. After drawing, compare the scaled plan with your original sketch to ensure nothing is missing. This check is essential because a plan that looks neat but omits a doorway or radiator will lead to poor decisions. Keep the plan with your moving notes for easy access.
Review the plan against your furniture
List the large items you plan to move, such as beds, wardrobes, sofas, and tables. For each item, note its width, depth, and height. Then compare those numbers with your room plan and with the door and hallway openings you measured. Mark on the plan where each item could fit without blocking walkways or doors. If an item is too large for a doorway, note that it may need to be dismantled or left behind. After reviewing, double-check the measurements of any item that seems borderline. This check matters because a few centimetres can decide whether a piece of furniture enters a room at all, and discovering this before moving day saves time and stress.
Quick Reference
| Situation | Action | Why it helps |
|---|---|---|
| You are measuring a room with an irregular shape or alcove | Break the room into simple rectangles, measure each separately, and write the numbers on your sketch before adding them together for a total area. | Irregular rooms are easy to mismeasure as one block, and treating them as separate shapes gives you a more accurate plan for placing furniture. |
| You need to check whether a large item will fit through a doorway | Measure the narrowest part of the doorway, including the frame and any door that cannot be removed, then compare that number with the item's width and depth. | The narrowest point controls whether an item passes, and checking it prevents you from planning to move something that will not fit. |
| You are unsure where to place a bed or sofa in the new room | Use your scaled plan to try different positions, keeping at least a comfortable walking gap between the item and walls or other furniture. | A scaled plan lets you test layouts without moving heavy items, and leaving walking space keeps the room usable and safe. |
Common Issues
- Measurements are written down but not linked to a specific wall: Label each number on your sketch with the wall it belongs to, such as north wall or wall with window, so you never confuse one measurement with another when reviewing the plan later.
- Doorway height is forgotten while measuring width: Always record both width and height for every door and opening, and note any low beams or frames, because a tall item may fit through the width but still be blocked by a low frame.
- Fixed features such as radiators are discovered only after furniture is placed: Walk the room before measuring and list every fixed feature with its distance from a corner, then mark these on your sketch so you can avoid placing furniture in front of them.
Advanced Tips
- Use a laser measure for long walls where a tape measure bends or sags, but still check the reading against a tape for the first few walls to ensure consistency.
- Create a simple digital spreadsheet to store measurements for each room, which makes it easy to sort items by size and compare them with door and window openings.
- Measure the moving route as well as the rooms, including hallways, stair turns, and lift dimensions, because the path to the room can be tighter than the room itself.
Final Checklist
- Every room has a sketch with all walls, doors, windows, and fixed features clearly labelled with measurements.
- Door and window openings are recorded with both width and height, and the direction of door swings is noted.
- Large furniture items are measured at their widest points and compared with the room plan and moving route.
- A clean scaled plan is stored with your moving documents and reviewed before packing day to confirm placements.
FAQ
How accurate do my room measurements need to be?
Aim for accuracy within a small tolerance, such as a centimetre or half an inch, because furniture and doorways leave little room for error. Measure twice and write numbers clearly, then check that your totals match the room shape. If a measurement seems uncertain, take it again rather than guessing.
Should I measure before or after packing?
Measure before packing, while rooms are still clear and you can move around freely. Boxes and furniture in the way make it harder to reach walls and corners, which increases the chance of mistakes. A clear room also lets you see fixed features that might be hidden later.
What should I do if a large item will not fit through a doorway?
Check whether the item can be dismantled, such as removing legs or doors, or whether the doorway frame can be safely removed. If neither is possible, plan to leave the item behind or find another route. Measure the narrowest point of every possible path before deciding.