How To Measure Wardrobe Shelves For Adjustable Storage Inserts
A practical step-by-step guide to how to measure wardrobe shelves for adjustable storage inserts, including preparation, instructions, common issues, tips, and next steps.

How To Measure Wardrobe Shelves For Adjustable Storage Inserts
Measuring wardrobe shelves for adjustable storage inserts is a patient, order-of-operations task: you first record the true inside dimensions of the opening, then verify shelf spacing and support style, then plot a consistent grid before buying any insert. A few careful measurements and a simple paper diagram will save you from inserts that wobble, bow, or fail to clear the shelf pins, and it lets you expand the system later without redoing the math.
Fast Answer
- Measure the clear space between the vertical side panels at the shelf you plan to change, then write every number down in the same unit.
- Check the shelf support style before you shop; a plan drawn to the wrong pin style will not match any insert you bring home.
Before You Start
- Clear the wardrobe section you plan to measure, remove hanging clothes, and set aside any loose items so the side panels, back wall, and shelf supports are fully visible.
- Gather a steel tape measure, a pencil, a notepad or paper diagram, a small level, and a step stool or ladder if the shelf sits above chest height.
- Decide which shelves will receive inserts and whether the inserts must sit on the existing shelf or replace it entirely, because that choice changes every measurement you take.
- Read the wardrobe manufacturer's assembly or care documentation for shelf thickness, load guidance, and any stated limits on adding accessories so your plan stays within the intended use.
Step-by-Step Instructions
Map the opening before measuring
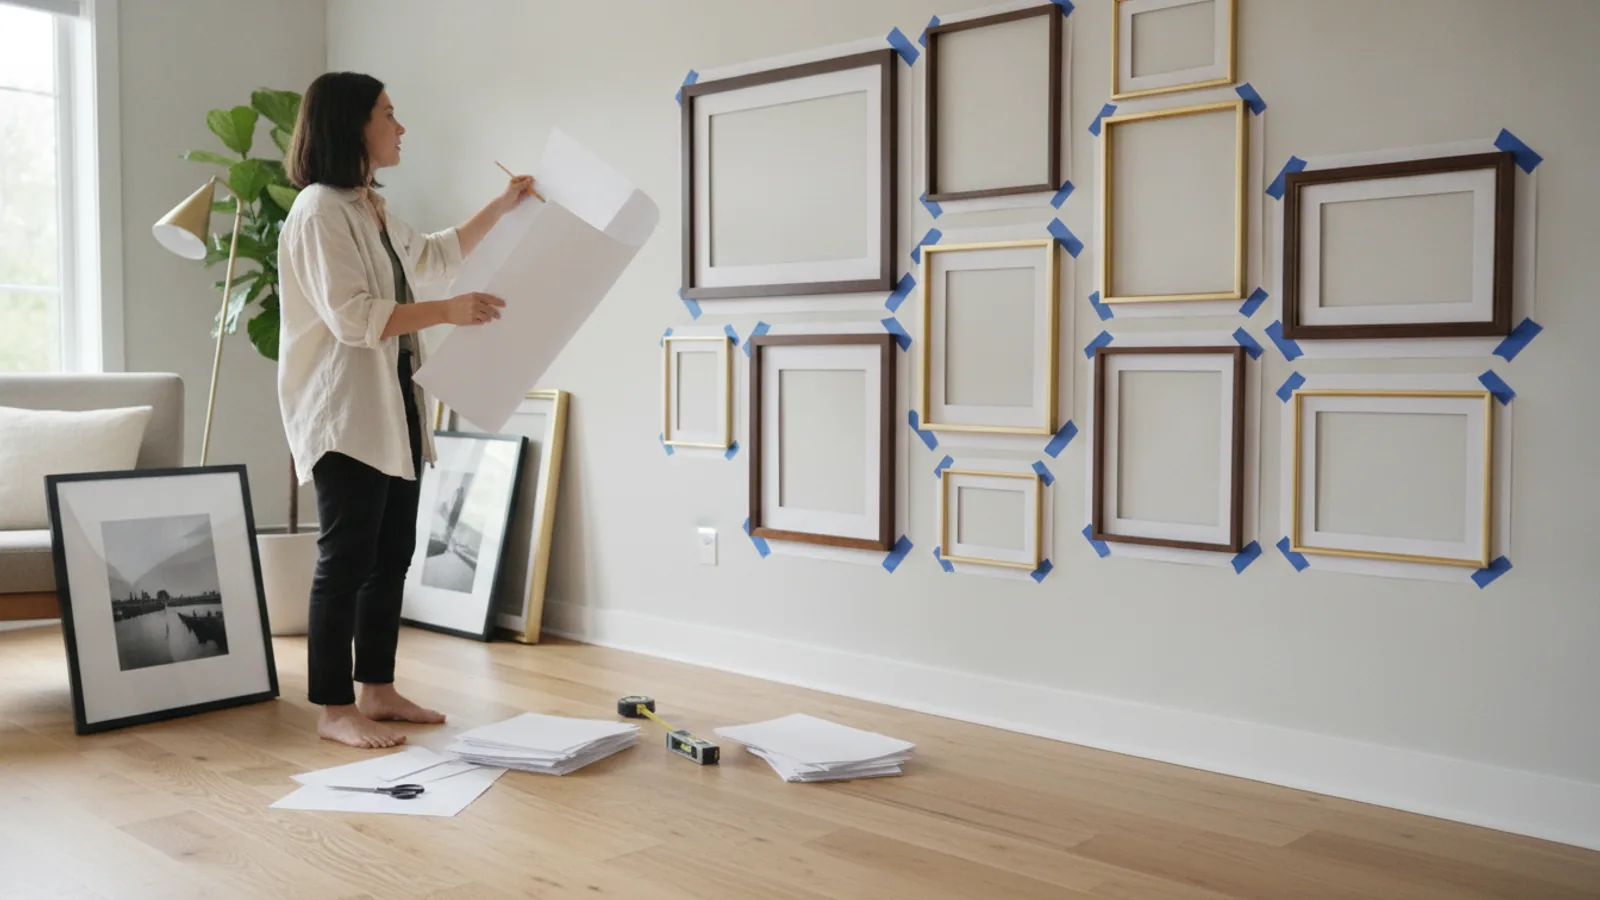
Start by drawing a simple front-view sketch of the wardrobe section on paper, labeling each shelf from the top down as shelf one, shelf two, and so on. Mark which shelves will hold inserts and which will stay as plain storage. This sketch becomes your reference for every later number, so you do not confuse the width of one bay with another. Next to each labeled shelf, leave room for three figures: inside width, inside depth, and clear height above the shelf. Walk the sketch back to the wardrobe and confirm that each labeled shelf is the one you think it is, counting from the fixed top panel downward. If the wardrobe has two or more vertical bays, give each bay its own column of numbers. Doing this first prevents the most common mistake, which is measuring a neighboring bay and then building a plan around the wrong opening.
Measure inside width at the shelf level
Extend the tape measure across the clear space between the left and right side panels at the exact height where the insert will sit. Read the number where the tape meets the right panel and record it to the nearest sixteenth of an inch or nearest millimeter, matching the unit on your sketch. Repeat the same measurement at the front edge, the middle, and the back of the shelf, because older cabinets often taper or bow. Write down the smallest of the three readings as your working width and note the largest beside it. If the difference is noticeable, the opening is not square, and an insert sized to the largest reading will jam while one sized to the smallest may rattle. This check matters because inserts are cut or molded to a fixed size, and side panels cannot flex to accept an oversized piece.
Measure depth from front to back
Place the tape at the front edge of the shelf and run it straight back until it touches the back wall or the rear panel. Record that distance, then repeat the measurement at the left side, the center, and the right side of the same shelf. Take the smallest reading as your usable depth and write the largest beside it as a tolerance note. Next, check whether the back of the wardrobe has a protruding rail, a baseboard-like lip, or a recessed panel, because any of these reduces the true depth an insert can occupy. Also measure the depth of the shelf itself, not just the opening, since some inserts rest on the shelf surface while others slide between the shelf and the back wall. Depth errors usually show up as an insert that sticks out past the front trim or one that cannot slide fully into place.
Record shelf thickness and support spacing
Measure the thickness of one shelf and confirm that every shelf in the bay matches or note the differences. Then inspect how the shelf is supported: fixed cleats, adjustable pins in drilled holes, or a bracket system. If the shelves use pins, measure the vertical distance between the centers of two adjacent pin holes and note the hole diameter if you can read it. Also record how far the pin holes sit from the front and back edges. This matters because adjustable inserts are often designed to sit on pins or clip to them, and a spacing that differs from the insert's design will not line up. If any pin hole is enlarged, stripped, or missing, mark it on your sketch now so you can plan around it instead of discovering the problem after the insert arrives.
Set consistent vertical spacing targets
Decide the clear height you want above each shelf, then check whether the existing pin holes can deliver that spacing. Measure from the top surface of one shelf to the underside of the shelf above it at several points, and record the smallest clear height. If you plan to move shelves, measure the distance between adjacent pin holes and divide the available height to see how evenly the shelves can be spaced. Keep tall items such as boots or folded blankets in mind, and give those shelves more clear height than shelves for folded shirts. Mark your intended shelf positions on the sketch with a small line. This step prevents the frustrating result of a beautifully measured insert that leaves no room for the items you actually store, or one that forces you to abandon a shelf position you had already planned.
Double-check and finalize the plan
Re-measure width, depth, and clear height for every shelf that will receive an insert, then compare each new reading with the first set on your sketch. Any figure that differs by more than a small tolerance deserves a third measurement and a note explaining the cause, such as a bowed shelf or a protruding screw head. Confirm your units are consistent throughout, since mixing inches and millimeters is a frequent source of ordering errors. Transfer the final smallest width, smallest depth, and smallest clear height for each shelf into a clean list, and circle the tightest opening in the whole wardrobe. Size your inserts to fit that tightest opening, or plan to trim or shim where the openings vary. Store the finished sketch with the insert packaging so future adjustments stay simple.
Quick Reference
| Situation | Action | Why it helps |
|---|---|---|
| The wardrobe has two side-by-side bays that look identical from the front. | Measure and sketch each bay separately at every shelf level, then label the bays left and right on paper and keep two distinct lists of width, depth, and clear height. | Side panels and center dividers can shift during assembly or settling, so twin bays often differ by enough that an insert fitted to one will not fit the other without adjustment. |
| The shelf pins are plastic and some holes feel loose when you press a pin in. | Test each pin by seating it fully and gently pressing sideways, note any hole that lets the pin rock or pull free, and plan to reinforce, relocate, or avoid those positions. | An insert resting on an unstable pin can tilt under load, which strains the shelf, the insert, and the surrounding panels and may lead to sudden collapse. |
| The wardrobe sits on an uneven floor and the side panels are not parallel. | Measure width at the top, middle, and bottom of the same opening, record the smallest reading, and check whether adjustable feet, shims, or a small leveling adjustment can bring the cabinet closer to square. | Parallel panels give you one reliable width to build around, while a racked cabinet forces every insert to be sized to its narrowest point or trimmed on site. |
Common Issues
- The insert fits the opening but the shelf will not slide back in because the insert is too deep front to back.: Re-measure usable depth with the shelf removed and look for a rear rail, a wall lip, or a recessed back panel that the tape missed the first time. Subtract the thickness of any obstruction, then choose a shallower insert or reposition the shelf forward slightly if the support system allows it.
- Width readings vary by more than a small tolerance from front to back of the same shelf.: Treat the smallest width as the true size and inspect the side panels for bowing, loose fasteners, or damage near the shelf line. If the panels can be pulled straight, tighten the cabinet hardware first, then re-measure; if not, plan for a slightly undersized insert and add thin shims to take up the gap.
- New insert sits at an angle because the shelf itself is not level.: Place a small level on the shelf and check it front to back and side to side. Move the shelf to a different pin position, add a thin shim under the low corner if the design allows, or replace a warped shelf before installing the insert so the load rests evenly.
Advanced Tips
- Cut a simple cardboard template to the smallest width and depth of the tightest opening, then test-fit it in every bay; the template reveals obstructions faster than a tape measure alone.
- Record the distance from the front edge of the shelf to the first pin hole, since that offset determines whether an insert sits flush with the front trim or leaves a visible gap.
- If you plan to add inserts later, photograph your finished sketch and store it with the wardrobe documentation so future measurements start from a known baseline.
Final Checklist
- Every planned shelf has a written width, depth, and clear height, with the smallest reading marked as the working size.
- The shelf support style, pin spacing, and any enlarged or missing holes are noted on the sketch.
- Units are consistent across the entire list, and the tightest opening in the wardrobe is clearly circled.
- A second copy of the final measurements is stored away from the wardrobe before any insert is ordered or trimmed.
FAQ
Should I measure with the shelf in place or removed?
Measure with the shelf in place for width and clear height, because that reflects the real opening an insert will occupy. Remove the shelf only when you need to check the depth of the rear panel, the condition of the pin holes, or an obstruction near the back wall, then put it back and confirm your readings.
How do I handle a wardrobe where the openings differ slightly?
Size every insert to the smallest width and depth you recorded across all planned shelves, then use thin shims or filler strips to close larger gaps. If the differences are substantial, plan separate insert sizes per shelf or adjust the cabinet hardware and leveling feet first so the openings come closer to matching.
What should I do if a shelf pin hole is stripped or missing?
Mark the damaged position on your sketch and avoid using it. Move the shelf to the nearest sound pair of holes, reinforce the area only if the manufacturer's documentation permits it, or consult the wardrobe instructions or a qualified installer before drilling new holes, since unapproved drilling can weaken the panel.