How To Measure A Cushion Insert For An Existing Cover
A practical step-by-step guide to how to measure a cushion insert for an existing cover, including preparation, instructions, common issues, tips, and next steps.
How To Measure A Cushion Insert For An Existing Cover
Measuring a cushion insert for an existing cover is a simple but precise task that ensures a comfortable, full look without straining seams. You will learn how to measure the cover's interior dimensions, account for seam allowance and fabric stretch, and choose an insert size that fills the cover properly. This guide walks you through preparation, step-by-step measuring, common pitfalls, and quick checks so you can get the right fit the first time.
Fast Answer
- Measure the cover's inside width and height from seam to seam, then add about 1 to 2 inches to each dimension for a plump fill.
- For a firm, tailored look, choose an insert that matches the cover's measured size exactly or is 1 inch larger.
Before You Start
- Gather a soft measuring tape, a notepad, a pencil, and the cushion cover you plan to fill. A flexible tape is essential for measuring around curves and into corners.
- Remove any existing insert from the cover and close the opening, whether it uses a zipper, buttons, or envelope flap, so the cover lies flat and its true size is not distorted.
- Lay the empty cover flat on a clean, hard surface such as a table or floor. Smooth out wrinkles with your hands so the fabric is relaxed and not stretched.
- Check the cover's care label or any tags for fiber content and any washing instructions, because some fabrics shrink or stretch and that affects how full the insert should be.
Step-by-Step Instructions
Measure the cover's interior width
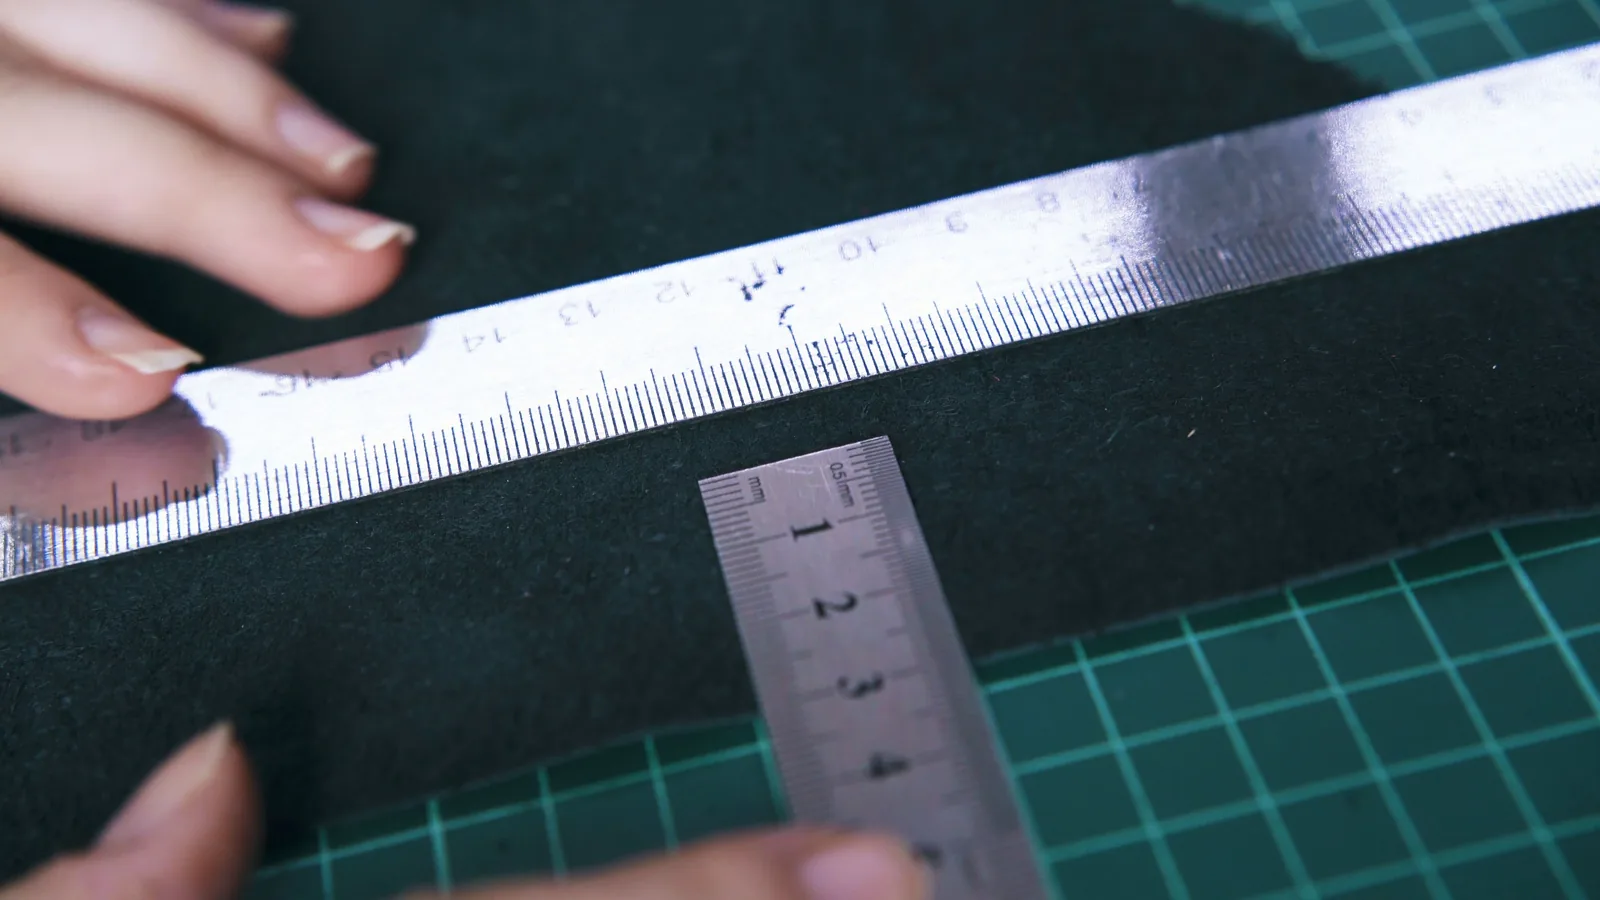
With the cover flat and closed, place the measuring tape along the inside seam from one side to the other at the widest point. Do not measure the outside edge, because the seam allowance and any piping add extra width that the insert will not fill. Read the number where the tape meets the opposite seam, and write it down. For a square cover, this width should match the height, but measure both to be sure. If the cover has a zipper, measure just inside the zipper stitching. This step matters because an insert that is too narrow will leave the cover looking flat, while one that is too wide will strain the seams and be hard to insert.
Measure the cover's interior height
Turn the cover so the height runs from the top seam to the bottom seam. Place the tape inside the cover, again from seam to seam, at the left, center, and right. Record the smallest measurement. If the cover is rectangular, the height will differ from the width, so keep them separate. For a cover with a flap opening, make sure the flap is folded inward as it would be when closed, so you measure the true usable height. This measurement is critical because an insert that is too short will sag, and one that is too tall will bunch at the top and bottom. Always measure the inside, not the outside edge, because the seam and any trim are not part of the filling space.
Account for seam allowance and fabric stretch
Most covers are sewn with a seam allowance that reduces the interior size by about half an inch to one inch on each side. If you measured from seam to seam, you already captured that. However, if you measured from the outer edge, subtract about one inch from each dimension. Next, test the fabric's stretch by gently pulling a corner. If it stretches easily, you can choose an insert that is slightly larger for a fuller look. If it does not stretch, stay closer to the measured size. This adjustment matters because a stiff fabric with a too-large insert can rip at the seams, while a stretchy fabric with a too-small insert looks limp. Always note the fabric type before deciding.
Add the right amount for fill and shape
After you have the interior width and height, decide how full you want the cushion. A common rule is to add one to two inches to each dimension for a standard plump look. For a firm, tailored appearance, add only half an inch to one inch. For a very soft, sink-in feel, add two inches or more. Write down your target insert size as width by height. For example, if your cover measures 18 by 18 inches, an insert of 19 by 19 or 20 by 20 inches will fill it well. This step is important because the amount you add directly affects the cushion's firmness and how well it holds its shape over time. A too-small insert will look flat, and a too-large one will feel overstuffed.
Verify with a test fit or paper template
Before you buy or order an insert, double-check your numbers by making a simple template. Cut a piece of paper or newspaper to the width and height you calculated, then slide it inside the cover. If the paper fits easily without folding or forcing, your measurement is likely correct. If it is too tight, reduce the insert size by half an inch. If it is too loose, increase by half an inch. You can also use a pillow you already own that fits well as a reference. This check matters because it catches measuring mistakes before you spend time or effort on an insert that does not fit. It also helps you feel the difference between a snug and a relaxed fill.
Record measurements and choose the insert size
Write your final insert dimensions clearly on a note, including the cover's interior size and the amount you added for fill. Label it with the cover's description, such as 'blue linen square' or 'striped lumbar', so you can match them later. If you are buying an insert, look for one that matches your target size as closely as possible. Inserts are often sold in standard sizes, so choose the nearest size that meets or slightly exceeds your target. If you are making an insert, cut fabric to your target size plus seam allowance. This final step matters because having a written record prevents confusion when you have multiple covers, and it ensures you can repeat the same fit if you buy another insert later.
Quick Reference
| Situation | Action | Why it helps |
|---|---|---|
| You have a square cover and want a standard plump look | Measure the inside width and height from seam to seam, then add 1 to 2 inches to each dimension for the insert size. | Adding this amount gives the cover a full appearance without straining the seams, and it allows the insert to compress slightly when you sit against it. |
| Your cover fabric is stiff and does not stretch | Stay close to the measured interior size, adding no more than 1 inch to each dimension, and consider a foam insert rather than a soft one. | Stiff fabric has little give, so a too-large insert can rip seams or be very difficult to insert, while a foam insert holds its shape without needing extra fill. |
| You are replacing an insert that always looked flat | Measure the cover's interior and add 2 inches to each dimension, then choose an insert of that size or slightly larger if the fabric stretches. | A flat look usually means the old insert was too small, and adding extra size provides the volume needed to fill out the corners and center of the cover. |
Common Issues
- The insert is too small and the cover looks saggy: Measure the cover again, then choose an insert that is 2 inches larger than the interior dimensions. If the cover is rectangular, make sure both width and height are increased. A too-small insert leaves empty space, so upsizing by 2 inches usually solves the problem without overstuffing.
- The insert is too large and the cover seams feel tight: Remove the insert and measure the cover's interior again. Choose an insert that matches the interior size exactly or is only 1 inch larger. If the cover has a zipper, check that the zipper is not strained. For a very tight fit, consider a down or down-alternative insert, which compresses more easily than foam.
- The cover has an irregular shape and standard inserts do not fit: Measure the widest and tallest points of the interior, then use the smaller of the two for width and height. For a round or bolster cover, measure the diameter and length. If no standard insert matches, look for a custom insert service or use loose filling to adjust the shape yourself.
Advanced Tips
- For a very full, luxurious look, choose an insert that is 2 inches larger than the cover in both dimensions, but only if the fabric has some stretch or the cover has a generous opening. This extra size creates a plump, hotel-style cushion.
- If you have a rectangular cover, measure the diagonal from corner to corner and compare it to the insert's diagonal. A mismatched diagonal can cause the insert to twist inside the cover, so aim for a diagonal that is within half an inch of the cover's.
- When measuring a cover with a zipper, close the zipper and measure from the zipper stitching to the opposite seam. The zipper tape and stitching take up space, so measuring from the outer edge will give you a size that is too large.
Final Checklist
- Did you measure the cover's interior width and height from seam to seam, not from the outer edges?
- Did you record the smallest measurement if the cover was slightly irregular at different points?
- Did you add the right amount for your desired fill, such as 1 to 2 inches for a standard plump look?
- Did you verify your target size with a paper template or test fit before buying or making an insert?
FAQ
Should I measure the cover or the old insert?
Always measure the cover, not the old insert. Old inserts can compress, lose shape, or become misshapen over time, so they no longer represent the true size needed. Measuring the cover's interior from seam to seam gives you the accurate dimensions that the new insert must fill.
How much larger should the insert be than the cover?
For a standard plump look, choose an insert that is 1 to 2 inches larger than the cover's interior dimensions. For a firm, tailored look, add only half an inch to 1 inch. For a very soft, sink-in feel, add 2 inches or more. The right amount depends on your preference and the fabric's stretch.
What if my cover is an odd shape, like a lumbar or round?
For a lumbar cover, measure the interior width and height as usual, then add 1 to 2 inches to each for the insert. For a round cover, measure the diameter across the center and add 1 to 2 inches. For a bolster, measure the length and the diameter of the end. If no standard insert matches, consider a custom insert or loose filling.