How To Organise Baking Trays In A Narrow Kitchen Cupboard
A practical step-by-step guide to how to organise baking trays in a narrow kitchen cupboard, including preparation, instructions, common issues, tips, and next steps.
How To Organise Baking Trays In A Narrow Kitchen Cupboard
A narrow kitchen cupboard can hold baking trays without chaos if you measure the space, choose a simple vertical or divided storage approach, and reset the arrangement after busy baking days. This guide walks you through planning, installing a practical system, and keeping it usable so trays stay easy to reach, dry, and ready for the next recipe.
Fast Answer
- Measure the cupboard opening, depth, and height first, then pick a narrow rack, dividers, or upright file-style storage that fits without blocking the door.
- Sort trays by size and use, store the most-used ones at waist height, and leave a small gap so air moves and trays do not stick together.
Before You Start
- Clear the cupboard completely and wipe down shelves so you can see the true width, depth, and any uneven surfaces before planning.
- Measure the internal width, depth, and height at the front and back of the cupboard, because door frames and pipes often reduce usable space.
- Gather every baking tray, sheet, and pan you plan to store, then group them by size and how often you use each one.
- Choose a storage method, such as a vertical rack, adjustable dividers, or a slim pull-out frame, and confirm it fits your measured space.
Step-by-Step Instructions
Measure the cupboard and plan the layout
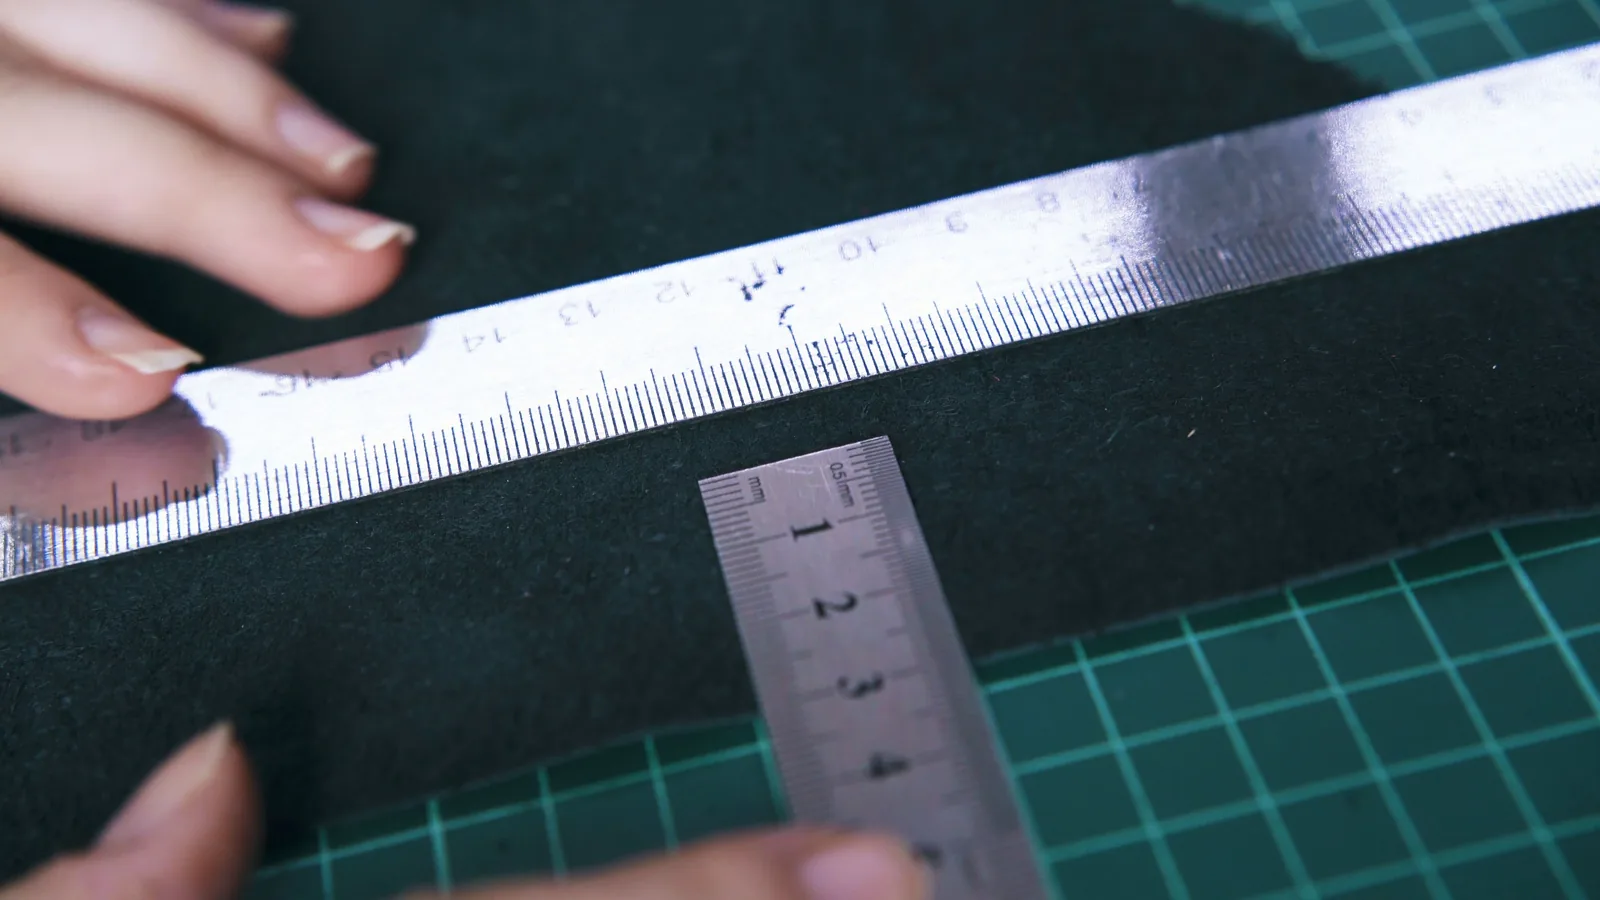
Start by opening the cupboard door fully and measuring the internal width, depth, and height at the front, middle, and back. Write these numbers down because a cupboard that looks square often narrows at the back due to pipes, hinges, or a door frame. Next, decide where each tray will live. Reserve the easiest-to-reach zone for the trays you use most, such as a standard flat sheet, and send seasonal or oversized trays to a higher or lower shelf. As a practical check, hold a tape measure or a tray against the planned spot and confirm the door can still close with a finger-width gap. This check matters because a layout that ignores the door swing will force you to rearrange everything later, wasting the effort you just invested.
Sort trays and remove unnecessary items
Take every baking tray out of the cupboard and place it on a table or counter. Group them by shape and size: flat sheets together, round cake pans together, and deep roasting trays together. Ask yourself which trays you have used in the last few months and set aside any that are bent, rusty, or duplicated. A narrow cupboard benefits from a small, honest collection because each extra tray steals space from the ones you actually use. As a practical check, count how many trays remain after sorting and compare that number with the slots your planned rack or divider system provides. This check matters because knowing the exact count prevents you from buying or building a system that cannot hold your real collection, and it keeps the cupboard from becoming crowded again.
Choose a vertical or divided storage method
For a narrow cupboard, vertical storage usually beats flat stacking because it lets you pull out one tray without lifting five others. Options include a wire rack with slots, adjustable plastic dividers, or a slim frame that stands trays on their edges. Choose a method that matches your measured width and the weight of your heaviest tray. If you use dividers, place them loosely at first so you can adjust the gaps. As a practical check, slide your heaviest tray into the planned slot and watch whether the rack tips, bows, or scrapes the cupboard side. This check matters because a storage method that cannot handle your heaviest item will fail quietly at first and then suddenly when you least expect it, risking damage to trays and fingers.
Install or place the storage system
With the cupboard cleared, position your chosen rack, dividers, or frame on the shelf. If the system needs assembly, follow its instructions and tighten every connection by hand before placing it in the cupboard. For a freestanding rack, press it gently against the back wall and check that it does not wobble. For dividers, start at one side and work across, keeping each gap wide enough for the trays that will sit there. As a practical check, open and close the cupboard door several times with the empty system in place and confirm nothing catches, shifts, or blocks the latch. This check matters because an empty rack can seem fine while a loaded one behaves differently, and catching a door problem now is far easier than after you have filled every slot.
Load trays in order of use and weight
Begin loading from the bottom or from the side nearest the door, depending on your rack design. Put heavy trays low and light trays high so the system stays stable. Place your most-used tray in the easiest slot, then work outward to seasonal or bulky items. Slide each tray fully into its slot and check that it does not lean against its neighbour. As a practical check, after loading half the trays, open the door and gently pull out the tray you use most. It should slide freely without dragging others with it. This check matters because a tray that catches on its neighbours will make you avoid the cupboard, and the whole point of organising is to make baking easier, not to create a daily struggle.
Test access and adjust the gaps
Once every tray is in place, close the cupboard door and then open it again. Reach for the tray in the middle of the rack and pull it out as if you were about to use it. Notice whether your hand fits comfortably, whether the tray clears the door frame, and whether any neighbouring tray moves. If something feels tight, remove a tray or widen the gap by moving a divider. As a practical check, time how long it takes to retrieve your most-used tray and return it. If it takes more than a few seconds or requires two hands and a wiggle, adjust the layout. This check matters because easy access is the difference between a cupboard you use and one you avoid, and small adjustments now save repeated frustration later.
Quick Reference
| Situation | Action | Why it helps |
|---|---|---|
| The cupboard door barely closes after loading trays. | Remove the deepest tray or move it to a lower shelf, then recheck the door swing with the cupboard half full before adding more items. | Door frames and hinges reduce usable depth, so testing with a partial load shows whether the problem is the tray size or the overall arrangement. |
| Trays slide forward and hit the door when it opens. | Place a non-slip mat under the rack or add a low lip at the front of the shelf, then confirm that each tray still slides out smoothly by hand. | A small amount of friction or a physical stop prevents trays from drifting, which protects both the trays and the cupboard door from repeated impact. |
| You cannot reach the tray at the back without removing others. | Move that tray to a front slot or switch to a pull-out frame, then test access by retrieving it three times in a row without adjusting anything else. | A tray that requires a chain of removals will not be used, so improving access for that specific item makes the whole storage system more practical. |
Common Issues
- The rack is too wide for the cupboard opening even though it fits the shelf.: Measure the door opening as well as the internal shelf width, then choose a narrower rack or one that assembles inside the cupboard. If the rack cannot fit through the door, return it or use dividers that you can place one at a time.
- Trays stick together and pull each other out.: Increase the gap between slots by removing one tray or moving a divider, and place a thin sheet of baking paper between trays that must sit close together. Check that each tray slides independently before you close the door.
- The shelf bows under the weight of heavy roasting trays.: Move the heaviest trays to the bottom shelf or to a lower position in the rack, and distribute weight evenly across the width. If the shelf still bows, place a thin board underneath to spread the load, or reduce the number of heavy items stored together.
Advanced Tips
- Use a label maker or removable tape to mark each slot with the tray size it holds, which helps anyone in the kitchen return items to the right place.
- Rotate seasonal trays to a higher shelf at the start of each season and bring everyday trays down, so the cupboard adapts to how you actually bake.
- Photograph the finished arrangement and tape the picture inside the cupboard door as a quick reference for anyone who unloads the dishwasher.
Final Checklist
- Confirm the cupboard door closes fully with every tray in place and no item pressing against the frame.
- Check that your most-used tray can be removed and returned with one hand in a few seconds.
- Verify that heavy trays sit lower than light trays and that the rack or dividers do not wobble.
- Make sure there is a small air gap around each tray so moisture can escape after washing.
FAQ
How do I store baking trays in a very narrow cupboard?
Use vertical storage rather than flat stacking. Measure the internal width and depth, then choose a slim rack, adjustable dividers, or a pull-out frame that fits through the door opening. Load trays on their edges, keep heavy items low, and test access with your most-used tray before filling every slot.
Should I keep baking trays in the cupboard where I bake?
Storing trays near the oven reduces walking and lifting, but only if the cupboard is dry and the trays are fully cool. If the nearby cupboard is narrow, a vertical rack can make it work. Check that the cupboard door closes without hitting the trays and that heat from the oven does not make the space too warm.
How can I stop trays from sliding in a narrow cupboard?
Place a non-slip mat under the rack or dividers, and leave a small gap at the front so trays do not press against the door. Avoid overloading the system, because a heavy load can shift when the door opens. Test by opening and closing the door gently and watching whether any tray moves forward.